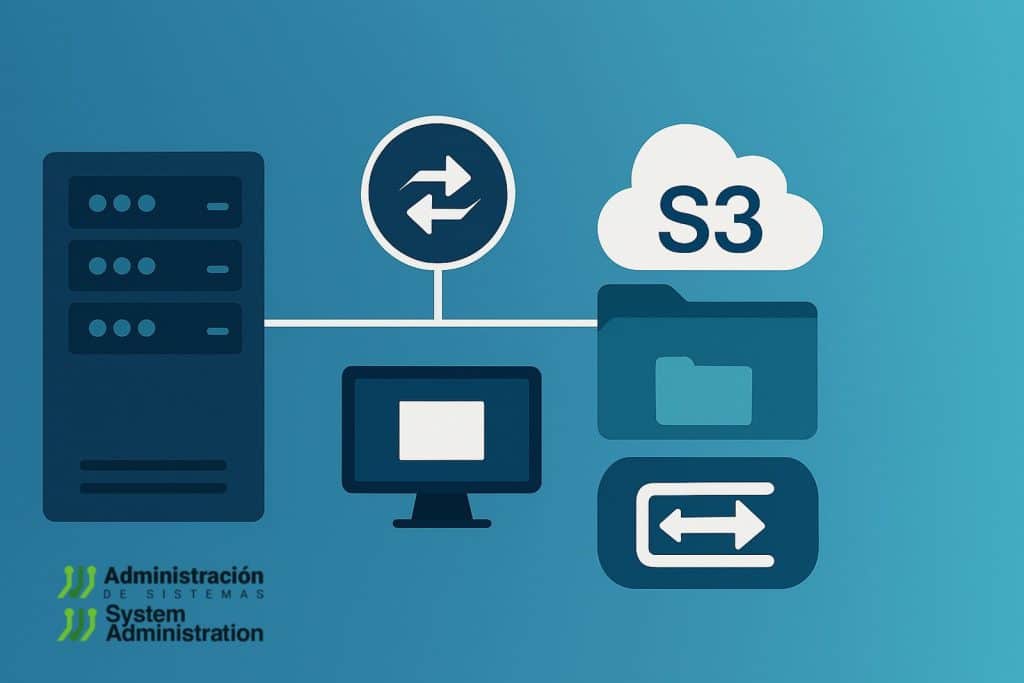
Mounting cloud storage directly into your server’s local filesystem is a powerful way to streamline file management. Whether you’re working with Amazon S3, Google Cloud Storage (GCS), or other S3-compatible services like Backblaze B2 or Wasabi, treating cloud buckets as local directories enables seamless integration into scripts, backup workflows, and applications.
This guide explains how to mount S3-compatible storage on a Linux server using three popular tools: s3fs-fuse, gcsfuse, and rclone.
Mounting S3-Compatible Buckets Using s3fs-fuse
s3fs-fuse allows you to mount S3 buckets (or any service with an S3-compatible API) as local filesystems.
Step 1: Install s3fs-fuse
On Debian/Ubuntu-based systems:
sudo apt update
sudo apt install s3fs
Step 2: Configure Access Credentials
Create a credentials file:
echo "ACCESS_KEY_ID:SECRET_ACCESS_KEY" | sudo tee /etc/passwd-s3fs
sudo chmod 600 /etc/passwd-s3fsCode language: PHP (php)
Replace ACCESS_KEY_ID and SECRET_ACCESS_KEY with your actual credentials.
Step 3: Mount the Bucket
Create a mount point and mount your bucket:
sudo mkdir /mnt/s3
sudo s3fs YOUR_BUCKET_NAME /mnt/s3 -o passwd_file=/etc/passwd-s3fsCode language: JavaScript (javascript)
You can now navigate to /mnt/s3 and interact with your cloud files as if they were local.
Mounting Google Cloud Storage Buckets Using gcsfuse
For direct access to Google Cloud Storage buckets.
Step 1: Install gcsfuse
Add the repository and install:
export GCSFUSE_REPO=gcsfuse-`lsb_release -c -s`
echo "deb http://packages.cloud.google.com/apt $GCSFUSE_REPO main" | sudo tee /etc/apt/sources.list.d/gcsfuse.list
curl https://packages.cloud.google.com/apt/doc/apt-key.gpg | sudo apt-key add -
sudo apt update
sudo apt install gcsfuseCode language: PHP (php)
Step 2: Authenticate with Google Cloud
Make sure the Google Cloud SDK is installed, then run:
gcloud auth login
gcloud config set project [YOUR_PROJECT_ID]Code language: JavaScript (javascript)
Step 3: Mount the Bucket
sudo mkdir /mnt/gcs
gcsfuse YOUR_GCS_BUCKET /mnt/gcs
Replace YOUR_GCS_BUCKET with your actual bucket name. The contents will now be available under /mnt/gcs.
Mounting Cloud Buckets with rclone
rclone is a flexible tool that supports dozens of cloud storage providers.
Step 1: Install rclone
curl https://rclone.org/install.sh | sudo bashCode language: JavaScript (javascript)Step 2: Configure rclone
Start the configuration wizard:
rclone configFollow the prompts to set up a new remote for your storage provider (e.g., Backblaze B2, S3, Wasabi, etc.).
Step 3: Mount the Remote Bucket
sudo mkdir /mnt/cloud
rclone mount REMOTE_NAME:BUCKET_NAME /mnt/cloud --daemon
Replace REMOTE_NAME with the name you assigned during setup, and BUCKET_NAME with your bucket’s name. The --daemon flag allows rclone to run in the background.
Final Thoughts
Mounting cloud storage as a local directory can simplify file handling and backup automation across cloud platforms. However, be mindful of:
- Performance: Network latency and bandwidth affect file access speed.
- System Resources: Mounted storage can consume memory and CPU, especially with many or large files.
- Costs: Cloud providers may charge for data transfers and API calls, so monitor usage.
These solutions are excellent for development environments, automation tasks, or hybrid cloud setups. Always review documentation and test carefully before using in production.

