
Docker has become a critical tool for developers and IT professionals, allowing applications to run seamlessly across different environments. Unlike traditional virtual machines, which emulate an entire guest operating system, Docker containers share the host OS kernel while remaining isolated in user space. Initially, Docker was exclusively used on Linux-based systems, but today, it can run independently across multiple operating systems.
Docker Desktop provides all the essential tools for running Docker applications on Windows, including the Docker Engine, Docker CLI, and Docker Compose. It also features automatic image downloads, container sharing via the cloud, and integration with IDEs and build tools.
For Docker to function on Windows, virtualization must be enabled since Docker relies on a Linux kernel, which requires a virtual machine (VM) to operate. Windows Pro and Enterprise editions support both Hyper-V and Windows Subsystem for Linux 2 (WSL 2) as virtualization solutions. However, on Windows Home, WSL 2 is the only option to run Docker Desktop.
System Requirements for Docker on Windows
To install Docker successfully, your Windows 10 or 11 system must meet the following prerequisites:
- 64-bit processor with virtualization support (Intel VT-x or AMD-V enabled in BIOS/UEFI)
- Windows 10 (version 1903 or later) or Windows 11
- WSL 2 enabled (for Home edition users)
- Hyper-V enabled (for Pro and Enterprise editions)
- At least 4GB RAM (8GB recommended)
Installing Docker on Windows 10 Step by Step
Docker can be installed on Windows 10 using either the graphical installation wizard or the command line. Below are the steps for both methods.
Step 1: Download and Run Docker Desktop
- Download the official Docker Desktop version from the Docker Hub.
- Run the Docker Desktop Installer.exe file.
- If your system supports both Hyper-V and WSL 2, you will be prompted to choose one. If Hyper-V or WSL 2 is already enabled, you will only see the relevant option.
- Optionally, create a desktop shortcut for easy access.
If the administrator account differs from the user account, add the user to the docker-users group:
- Open Computer Management as an administrator.
- Navigate to Local Users and Groups > Groups > docker-users.
- Right-click and add the user.
- Log out and log back in for changes to take effect.
Alternatively, use the command line:
net localgroup docker-users <user> /addCode language: HTML, XML (xml)Replace <user> with your Windows username.
Installing Docker on Windows 11
The installation process on Windows 11 follows similar steps but requires additional attention to virtualization settings.
Step 1: Download Docker
- Visit the official Docker website and select Docker Desktop for Windows.
Step 2: Install Docker
- Run the downloaded installation file.
- During installation, enable WSL 2 as the default backend by checking the corresponding option.
- Click Accept and begin the installation process.
- Restart your system after installation.
- Accept the licensing terms.
Step 3: Install WSL 2
- After installation, Docker will prompt you to install WSL 2.
- Click the provided link to download the latest WSL 2 update.
- Follow the setup wizard instructions.
- Restart your system to complete the installation.
Step 4: Run and Test Docker Desktop
- Launch Docker Desktop from the Start menu.
- To verify the installation, open PowerShell and execute:
docker run hello-worldThis command downloads and runs the Hello World container to confirm Docker is functioning properly.
Step 5: Essential Docker Commands
To efficiently use Docker, familiarize yourself with these essential commands:
docker --help # Display all available commands
docker <COMMAND> --help # Show details about a specific command
docker image ls --all # List all Docker images
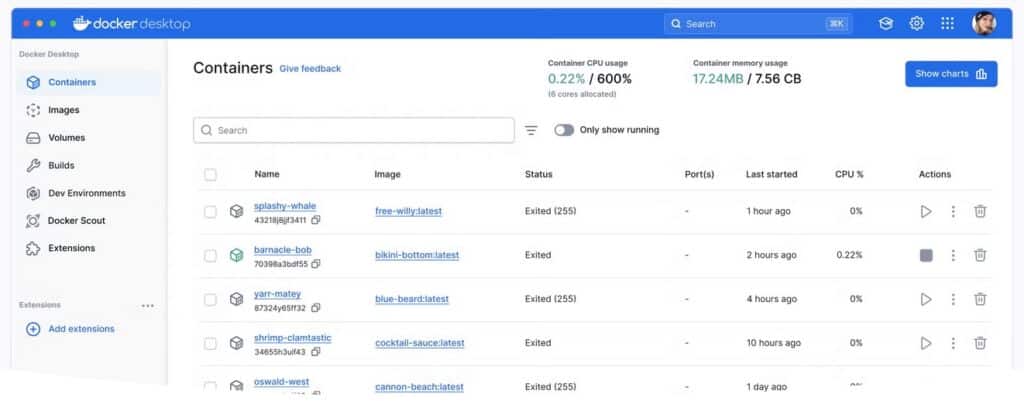
docker container ls --all # List all Docker containers
docker info # Show system-wide Docker informationCode language: PHP (php)Managing Docker Volumes in Windows
When using Docker Desktop on Windows, volumes are stored within the WSL file system. You can locate them at:
\wsl$\docker-desktop\mnt\docker-desktop-disk\data\docker\volumesSince wsl.localhost is no longer used in the file path, ensure you reference the correct location.
Creating a Symlink for Volume Access
If you frequently access volumes, create a symbolic link for convenience. Open PowerShell as an administrator and execute:
New-Item -ItemType SymbolicLink -Path "C:\Volumes" -Target "\wsl$\docker-desktop\mnt\docker-desktop-disk\data\docker\volumes"Code language: PHP (php)Alternatively, in CMD:
mklink /D C:\Volumes \wsl$\docker-desktop\mnt\docker-desktop-disk\data\docker\volumesConclusion
Docker Desktop on Windows provides a seamless development environment with flexibility for both WSL 2 and Hyper-V users. Whether using Windows 10 or 11, proper configuration ensures smooth execution of containers. By following this guide, developers can efficiently leverage Docker’s capabilities while integrating it with their existing workflow.