
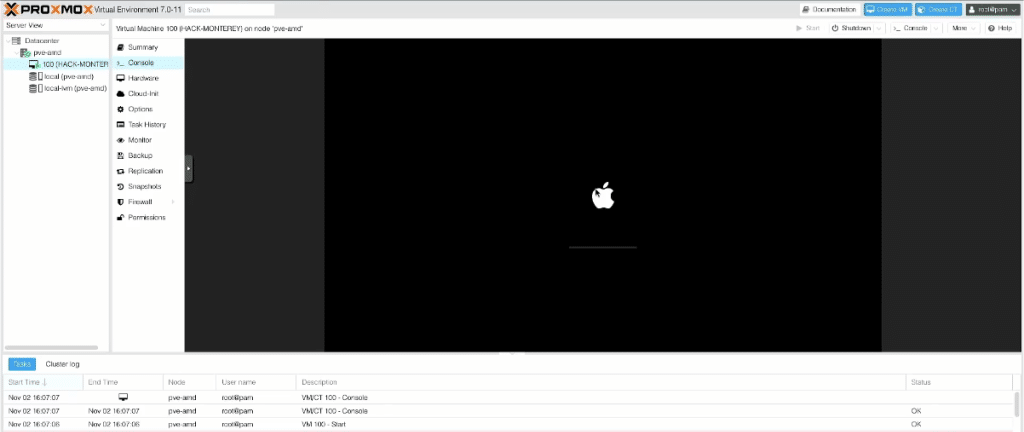
A new open-source project called OSX-Proxmox, developed by GitHub user luchina-gabriel, is making waves in the virtualization community by enabling users to run macOS on Proxmox VE with remarkable ease — even on non-Apple hardware, including both Intel and AMD processors.
Designed for developers, testers, and tech enthusiasts, the tool offers an incredibly simple setup process, allowing macOS to be installed on a virtual machine using a one-line shell command and minimal configuration.
🚀 A One-Command Installation
Getting started with OSX-Proxmox requires a clean installation of Proxmox VE (versions 7.0.x to 8.2.x). Once Proxmox is up and running, users can access the web shell and execute the following command:
/bin/bash -c "$(curl -fsSL https://install.osx-proxmox.com)"Code language: JavaScript (javascript)This script automates the creation of the VM, applies OpenCore (the bootloader required for macOS), and initiates the macOS installation process.
OSX-Proxmox supports multiple versions of macOS, from High Sierra (10.13) to the latest macOS Sequoia (15), and is regularly updated to include new OpenCore builds.
🔧 Hardware Requirements & Compatibility Notes
A key hardware prerequisite for running newer versions of macOS (starting with Monterey) is support for TSC (timestamp counter). If the Proxmox host lacks a stable TSC clock source, issues like kernel panics or installation crashes can occur.
To check for TSC support, run:
dmesg | grep -i -e tsc -e clocksourceIf the system returns: clocksource: Switched to clocksource tsc, you’re good to go. Otherwise, the guide offers BIOS tweaks or GRUB kernel parameters (e.g., clocksource=tsc tsc=reliable) to help mitigate the problem — though stability is not guaranteed in such cases.
💡 Troubleshooting and Community Fixes
While OSX-Proxmox offers a largely automated experience, community members have contributed valuable improvements and bug fixes, particularly for more complex environments.
A common issue — the VM booting into the UEFI shell instead of macOS — can often be resolved by replacing the default OpenCore ISO with a qcow2 disk image:
wget https://raw.githubusercontent.com/thenickdude/OSX-KVM/master/OpenCore/OpenCore.qcow2
mv OpenCore.qcow2 /var/lib/vz/template/iso/
qm importdisk 200 /var/lib/vz/template/iso/OpenCore.qcow2 local-lvm
qm set 200 --virtio1 local-lvm:vm-200-disk-2
qm set 200 --boot order=virtio1Code language: JavaScript (javascript)
This allows the VM to boot directly into OpenCore and proceed with macOS installation, avoiding known issues with ISO mounting bugs.
Another common hurdle is the “Recovery Server Could Not Be Contacted” error during installation. Users are advised to verify internet connectivity from within the VM (e.g., by using Safari) and, if necessary, override the system catalog URL with an HTTP version using:
nvram IASUCatalogURL="http://your-http-url.sucatalog"Code language: JavaScript (javascript)🍏 Supported macOS Versions
OSX-Proxmox currently supports:
- macOS High Sierra (10.13)
- macOS Mojave (10.14)
- macOS Catalina (10.15)
- macOS Big Sur (11)
- macOS Monterey (12)
- macOS Ventura (13)
- macOS Sonoma (14)
- macOS Sequoia (15)
🛑 Legal Notice
The project is offered strictly for educational, research, and development purposes. Installing macOS on non-Apple hardware — even in virtual machines — may violate Apple’s End User License Agreement (EULA). Users are advised to proceed with caution and respect the legal boundaries of their jurisdiction.
📦 Availability
The full source code, documentation, and setup guide are available on GitHub:
👉 https://github.com/luchina-gabriel/OSX-PROXMOX
The community is actively contributing to bug fixes, improved instructions, and compatibility enhancements. With its user-friendly approach and flexibility across hardware types, OSX-Proxmox represents a breakthrough for macOS virtualization enthusiasts and developers needing a macOS environment for testing or cross-platform development.
![Como instalar Hackintosh NEW WAY [virtualizado] com GPU, USB, Audio e Wifi/Bt em QUALQUER COMPUTADOR](https://systemadministration.net/wp-content/cache/flying-press/a086b1c7eb28bd8140c36d8c6c982912.jpg)