
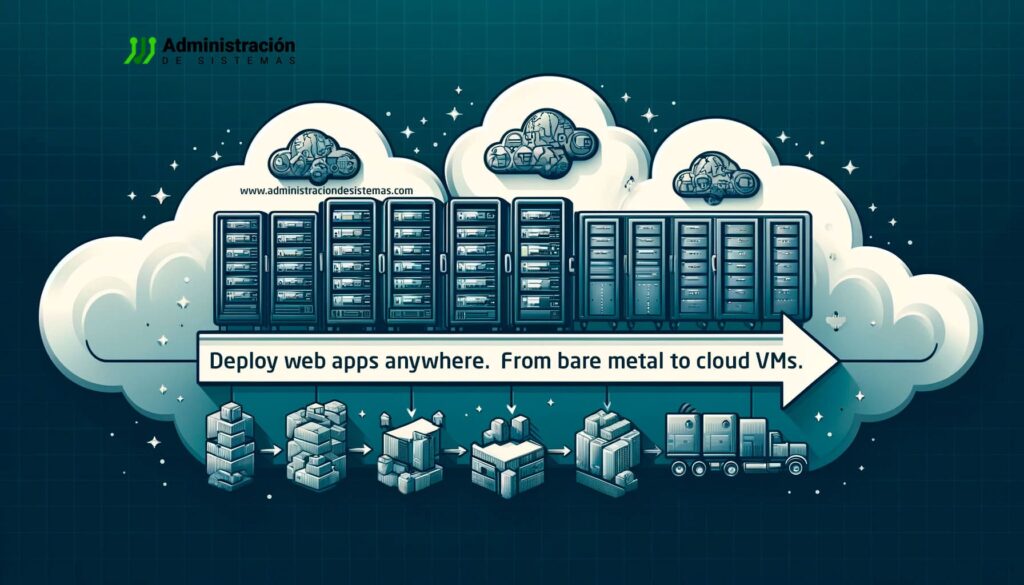
Deploying web applications in containers can be complex, but tools like Kamal have significantly streamlined the process. This deployment orchestrator allows developers to deploy web applications quickly, securely, and automatically, optimizing workflows and reducing errors.
In this article, we’ll explain how to deploy web applications with Kamal in a virtual machine environment on a private cloud or VPS, highlighting best practices and strategies for efficient deployment.
What is Kamal, and Why Use It for Web Application Deployment?
Kamal is a tool designed to simplify web application deployment in containers. With its automation-first approach and Docker integration, Kamal enables developers to manage deployments on Linux servers without complex infrastructures.
Key Benefits of Kamal
- Simplicity: Reduces the learning curve compared to other deployment tools, allowing applications to be deployed with just a few commands.
- Automation: Simplifies updates and scaling, ensuring they are executed quickly and consistently.
- Reliability: Minimizes deployment errors and ensures stable releases through structured processes.
- Compatibility: Seamlessly integrates with Linux VPS environments, maximizing flexibility in web application hosting.
How to Deploy a Web Application with Kamal
Below are the essential steps to deploy a web application using Kamal on a Linux-based VPS.
1. Preparing the Deployment Environment
Before installing Kamal, it’s necessary to set up the environment on a Linux server. In this guide, we’ll use a private cloud on Stackscale, which offers:
- High security with firewalls and access controls.
- Easy scalability to increase resources as needed.
- Kodee, an AI-powered assistant that optimizes deployment workflows.
Accessing the Server
Connect to your VPS using SSH with PuTTY or a terminal client:
ssh [email protected]Then, update the system packages:
sudo apt-get update && sudo apt-get upgrade -yYou should also install any necessary dependencies for your application, such as Docker, NGINX, or PostgreSQL, depending on your project’s configuration.
2. Installing and Deploying with Kamal
Installing Kamal
If your server has Ruby installed, you can install Kamal with:
gem install kamalAlternatively, if you prefer using Docker, you can pull the image and configure a shell alias for easier access.
Configuring Kamal
Next, configure deploy.yml, the file that defines deployment details:
service: my_app
image: user/my_app
servers:
  - 192.168.1.1
  - 192.168.1.2
registry:
  server: ghcr.io
  username: user
  password:
    secure: KAMAL_REGISTRY_PASSWORD
env:
  secret:
    secure: RAILS_MASTER_KEY
healthcheck:
  path: /healthz
  port: 4000
  max_attempts: 5
  interval: 15s
Make sure to store credentials securely, using environment variables instead of embedding them in the file.
3. Running the First Deployment
To initialize the server setup, run:
kamal setupThen, to deploy the application, execute:
kamal deployThis command pulls the Docker image, runs migrations, and restarts services based on the configurations in deploy.yml.
4. Managing Environment Files
Environment variables are crucial for web applications. Kamal allows you to securely push these files to the server:
kamal env pushWhenever changes are made to environment variables, they must be pushed before running kamal deploy to ensure the application uses the updated configuration.
5. Monitoring Server Health
Kamal provides tools to check the status of your servers and containers. To retrieve service details, run:
kamal detailsExample output:
App Host: 192.168.1.1
CONTAINER ID  IMAGE      STATUS    PORTS
a1b2c3d4e5    my_app     Up 10m    3000/tcp
If you need to restart Traefik (the reverse proxy), do it without downtime using:
kamal traefik reboot --rolling6. Rolling Back a Deployment
If a deployment fails, Kamal makes it easy to roll back to the previous stable version:
kamal rollback [previous_image]This command quickly restores a stable state without rebuilding the entire application.
7. Cleaning Up the Server
To free up server space by removing old deployments:
kamal removeThis command deletes unused containers and related files, ensuring optimal server performance.
Best Practices for Kamal Deployments
To ensure smooth and efficient deployments, follow these best practices:
Automate Your Workflow
Integrating Kamal into a CI/CD pipeline improves deployment speed and stability. Configure scripts to automatically run kamal deploy after every code push.
Use Deployment Locks
Prevent conflicts in concurrent deployments with:
kamal lock acquire -m "Deployment in progress now"To release the lock after deployment:
kamal lock releaseLeverage Kamal Hooks
Hooks allow you to execute custom scripts before or after deployment. Example of a post-deployment hook sending a notification:
#!/usr/bin/env bash
curl -X POST -H "Content-Type: application/json" -d '{"message": "New version deployed"}' https://my-webhook.com
This script can be integrated into deploy.yml to enhance automation.
Conclusion
Kamal is a robust and efficient solution for deploying web applications in containers. Its ease of use, Docker compatibility, and automation capabilities make it a great choice for Linux VPS and private cloud environments.
Key Takeaways
✅ Simplifies deployment with intuitive commands.
✅ Automates updates and scaling with scripts and CI/CD.
✅ Enables easy environment management and rollback.
✅ Provides monitoring tools for optimal server performance.
For development teams seeking reliability and efficiency in their deployments, Kamal is a solid choice for 2025 and beyond. 🚀