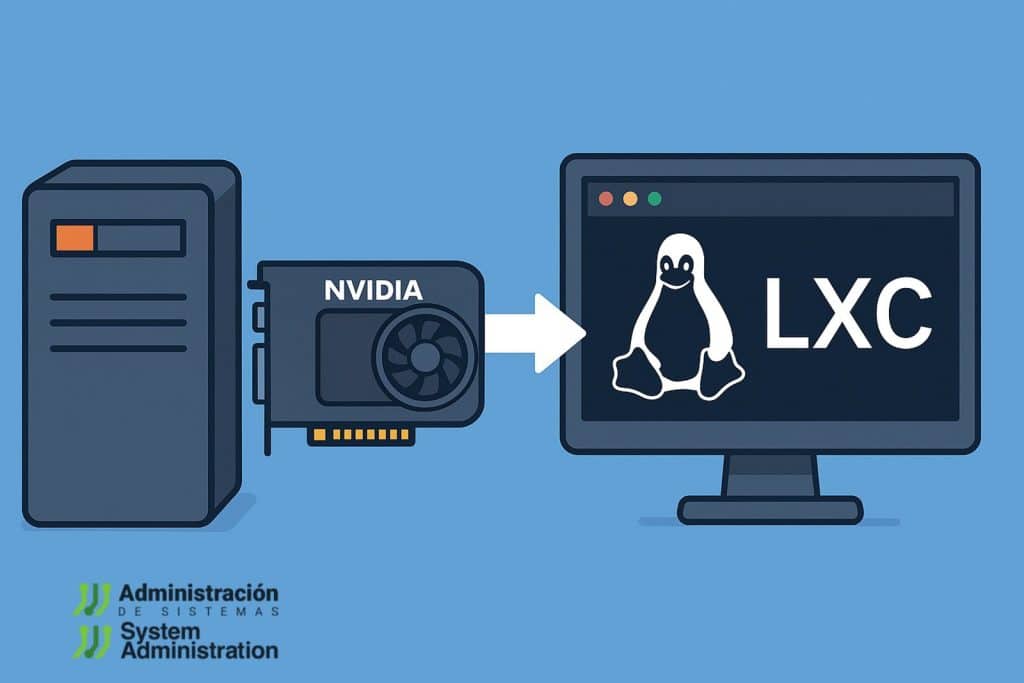
A complete guide to leveraging near-native GPU performance in lightweight LXC environments with Proxmox VE
Using LXC containers in Proxmox has become an increasingly popular alternative to traditional virtual machines for running GPU-accelerated workloads, especially where performance and efficiency are critical. Thanks to their lower overhead and near-instant boot times, LXC containers are ideal for tasks such as AI inference, video encoding, or virtualized workstations. However, enabling GPU passthrough to LXC containers in Proxmox requires a specific set of steps that differ notably from configuring passthrough for virtual machines (VMs).
Why choose LXC with GPU over VMs?
- Faster boot times and lower system resource usage
- Near-native performance from the GPU
- Ideal for running apps like Ollama, Jellyfin, or accelerated remote desktops
But there’s a key limitation: you can’t enable GPU passthrough for VMs and LXC containers simultaneously, due to conflicting system configurations (like VFIO use or driver blacklists).
Prerequisites
- Proxmox VE 7.x or 8.x
- NVIDIA or AMD GPU installed and detected
- GPU drivers installed on the host
- An LXC container created (privileged is preferred)
- Secure Boot disabled in BIOS
Steps to enable GPU passthrough to LXC containers
1. Undo previous VM passthrough settings
If you’ve previously enabled passthrough to a VM:
- Edit
/etc/modprobe.d/vfio.confand remove or comment out lines - Delete or edit
/etc/modprobe.d/blacklist-nvidia.confto remove blacklists - Regenerate initramfs:
update-initramfs -u -k all - Reboot the host
2. Install GPU drivers on Proxmox host
apt install build-essential software-properties-common make -y
apt install -y nvidia-driver # Or install manually from NVIDIA’s websiteCode language: PHP (php)- For AMD:
apt install -y firmware-amd-graphics - Verify with:
nvidia-smi
3. Detect NVIDIA devices
ls -al /dev/nvidia*You should see entries like:
/dev/nvidia0/dev/nvidiactl/dev/nvidia-uvm/dev/nvidia-caps/*
4. Add passthrough devices to the LXC container
In the Proxmox GUI:
- Select the container > Resources > Add > Device Passthrough
- Add each
/dev/nvidia*device individually
5. Install GPU drivers inside the LXC container
Push the driver file:
pct push <LXC ID> NVIDIA-Linux-xxx.run /root/Code language: HTML, XML (xml)Inside the container, execute:
chmod +x NVIDIA-*.run
./NVIDIA-*.run
6. (Optional) Install NVIDIA Container Toolkit for Docker
Only required if you plan to run Docker inside the LXC:
apt install -y nvidia-cuda-toolkit nvidia-container-toolkitVerify:
nvidia-smi7. Install Ollama or other AI applications
For example, to install Ollama:
curl -fsSL https://ollama.com/install.sh | shCode language: JavaScript (javascript)Then, connect OpenWebUI to the Ollama LXC container:
docker run -d -p 3000:8080 --add-host=host.docker.internal:host-gateway \
-e OLLAMA_BASE_URL=http://<LXC IP>:11434 \
-v open-webui:/app/backend/data --name open-webui --restart always \
ghcr.io/open-webui/open-webui:mainCode language: JavaScript (javascript)
Security considerations
- Privileged containers simplify GPU access but are less isolated.
- In shared or production environments, VMs or Kubernetes pods with GPU plugins are preferable for better isolation.
Pros and cons of LXC GPU passthrough
| Pros | Cons |
|---|---|
| Lightweight with fast boot | More complex setup than with VMs |
| Near-native performance | Weaker isolation in privileged containers |
| Ideal for lightweight AI apps | Manual device handling can be tricky |
Enabling GPU passthrough to LXC containers in Proxmox is not only feasible — it’s a powerful, efficient option for running AI, multimedia, or rendering applications with minimal system overhead. However, it requires careful setup and a clear choice between container or VM passthrough.
📷 For more details and step-by-step screenshots, check the original guide by Brandon Lee at VirtualizationHowTo.com.

