
FreeBSD 14.3, currently in its beta phase, is ready for testing by advanced users, system administrators, and open-source enthusiasts. This guide outlines the steps for installing FreeBSD 14.3 in both virtualized environments and on physical hardware.
Prerequisites
Recommended minimum hardware:
- x86_64 (amd64) or ARM64 processor
- At least 2 GB of RAM (4 GB recommended)
- 20 GB of free disk space
- Internet connection for downloading and updating packages
Installation options:
- Virtual Machine (VirtualBox, VMware, QEMU, Proxmox, etc.)
- Physical (bare-metal) server with direct access or remote management (e.g. IPMI)
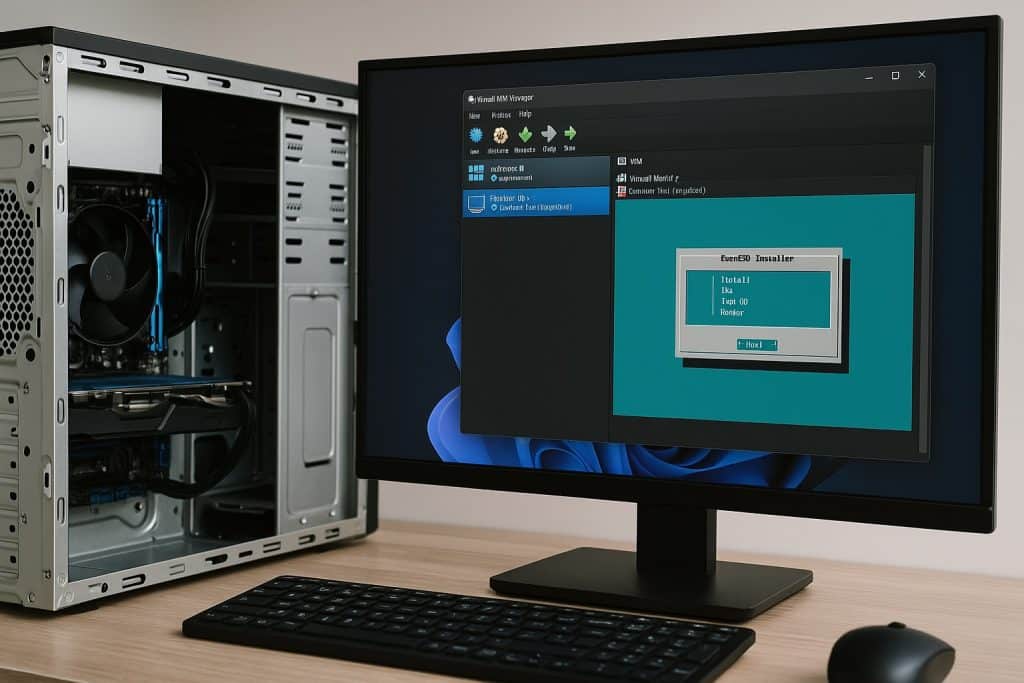
Installing FreeBSD 14.3 in a Virtual Machine
1. Download the ISO image
Visit the official FreeBSD site and download the appropriate ISO for your system architecture.
For most users:
- amd64:
FreeBSD-14.3-BETA1-amd64-disc1.iso
2. Create the virtual machine
Set up the VM in your preferred hypervisor:
- Guest OS: BSD → FreeBSD
- CPU: 2 cores
- RAM: 2–4 GB
- Disk: 20–40 GB (VDI, VMDK, or QCOW2 format)
- Network: Bridged adapter or NAT
- Boot: From the downloaded ISO
3. Start the VM and proceed with installation
- Choose language and keyboard layout.
- Select “Install.”
- Choose disk layout (automatic ZFS or UFS recommended).
- Set the root password and optionally create a user.
- Configure network and optional services (e.g. SSH, NTP).
- Finish installation and reboot the system.
Installing FreeBSD 14.3 on Bare-Metal Hardware
1. Prepare the installation media
- Download the ISO image from the official site.
- Create a bootable USB drive using Rufus (Windows) or dd (Linux/macOS):
sudo dd if=FreeBSD-14.3-BETA1-amd64-memstick.img of=/dev/sdX bs=1M status=progress
Code language: JavaScript (javascript)Note: Replace /dev/sdX with your actual USB device.
2. Configure BIOS/UEFI settings
- Disable Secure Boot if necessary.
- Set USB as the primary boot device.
- Enable hardware virtualization if planning to use jails or bhyve.
3. Proceed with the installation
The installation process is the same as in virtual environments. For production environments, using ZFS is recommended due to its advanced features.
Post-Installation Steps
Update the system
freebsd-update fetch
freebsd-update install
Enable essential services
sysrc sshd_enable=YES
sysrc ntpd_enable=YES
Install basic utilities
pkg update
pkg install sudo nano htop bash
Configure network (if not automatically detected)
sysrc ifconfig_em0="DHCP"Code language: JavaScript (javascript)Or configure a static IP in /etc/rc.conf.
Additional Tips
- You can experiment with FreeBSD using OCI container images or on cloud platforms (AWS EC2).
- Suitable for web servers, firewalls, routers, or lab environments.
- FreeBSD 14.3 is expected to be a stable release supported until June 2026.